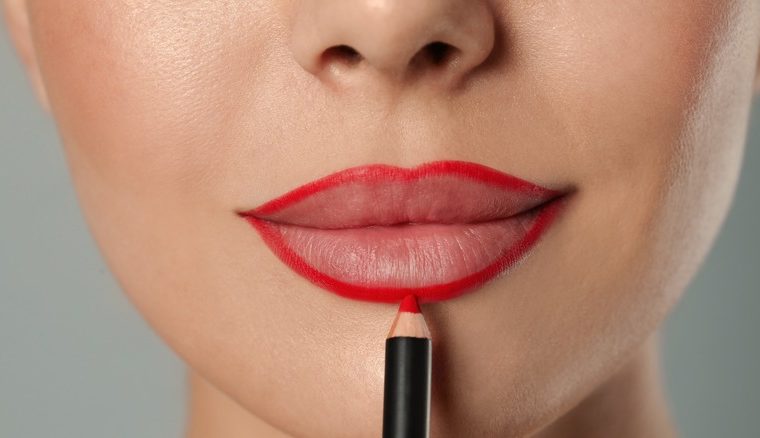
Plump lips are all the rage these days. From lip fillers to makeup tricks like the “gym lips” trend and the Bratz doll lip challenge on TikTok, people want to achieve full, pouty lips. Fortunately, you don’t have to spend a fortune on cosmetic injections to achieve this look. Overlining is a makeup technique that involves using a lip liner to draw just outside of your natural lip line, making your lips appear fuller. This technique can also help to correct any asymmetry between the two sides of your lips. According to Makeup Muddle, it’s a simple and effective way to get the Kardashian-esque lips you’ve always wanted.
A favorite among celebrities like Beyoncé, Marilyn Monroe, and Kylie Jenner, the technique guarantees you fuller lips in minutes. But, there is a thin line between natural-looking fuller lips and creating unnatural and exaggerated features, literally. And the sidebar is pretty easy to cross. Thankfully, there are makeup-artist-approved ways to overline your lips without going too far or messing it up. With some practice, you’ll be rocking a plumper pout in no time.
Exfoliate and moisturize your lips
fizkes/Shutterstock
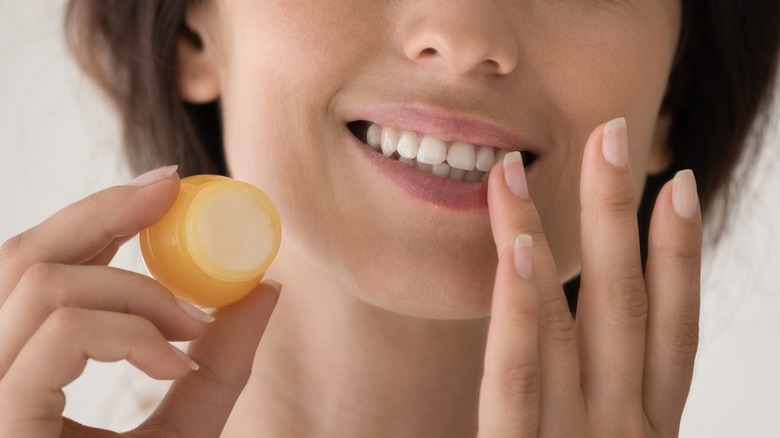
Overlining does not only depend on what liner or lip products you use; it also depends on how you prep your lips. Where chapped or dry lips do not create a smooth canvas for you to work, prepped and hydrated lips are fuller and more straightforward to glide products on top of. To prep your lips, MasterClass says to exfoliate with a toothbrush or a lip scrub like the highly-rated Fresh Sugar Lip Polish Exfoliator. After less than one minute of gentle scrubbing, wipe it off and follow it with a moisturizing lip balm like the ILIA Lip Wrap Reviving Balm. This process sloughs off the dead skin cells from your lips and plumps them.
When overlining, you should be concerned about your lips and the area above your lipline. Senior national makeup artist John Stapleton explains to Ipsy how the hairs above your lip, A.K.A. peach fuzz, can cause your lip liner to “ball up” or clump. P.S.: It’s not very pretty. Waxing off the hair is a great way to avoid this and ensure your lip line is ball-free.
Pick the right lip shades
Peakstock/Shutterstock
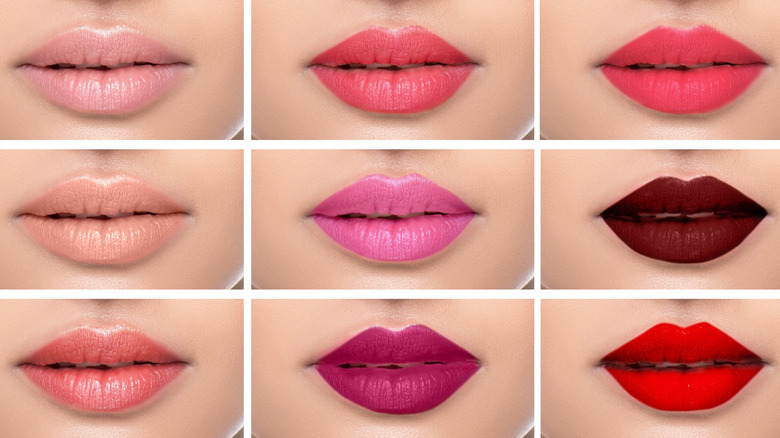
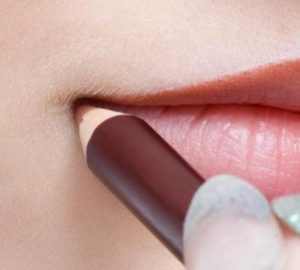
The purpose of overlining is to create a fuller appearance of the lips while still maintaining a natural look. The color of your lip liner can make a significant difference between achieving that goal and creating a comic-like lip combination. For the best results, beauty experts recommend using more neutral shades of lip liner or choosing a color that matches your skin tone but is slightly darker. This technique makes your lips look plump while also appearing natural. It is advisable to use a lip liner that is slightly darker than your natural lip color as it will blend in and add depth to your look. One highly recommended product is the Patrick Ta Monochrome Moment Precision Lip Crayon, which has received a rating of 4.6 stars at Sephora.
If your lipstick color is wine-red, Real Beauty School advises you to use a dark wine or dark brown lip liner. Again, choose a liner in the same shade range but a tad darker. Avoid using lip liners that are far away from your natural lip color or not suited to your undertone, as they can ruin the look, per MasterClass.
Outline by highlighting and shading your lips
Tata Mamai/Shutterstock
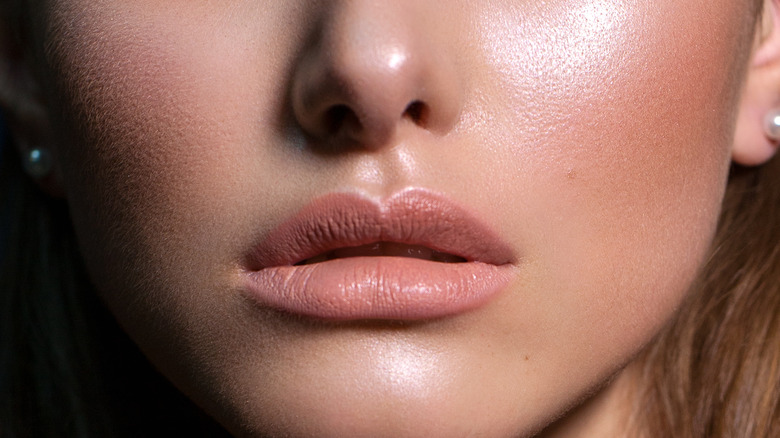
And now for the fun part: outlining. Lips come in different shapes, so you might outline your lips using a different technique from the next plump pout lover. The general idea, however, is to outline your lips, starting from your cupid’s bow. As L’Oréal Paris explains, define your cupid’s bow, the area between your philtrum and your top lip, by drawing an X over it and filling it in with the same liner. An alternative to this is to apply a bit of highlighter over your cupid’s bow to give the illusion of a fuller pout.
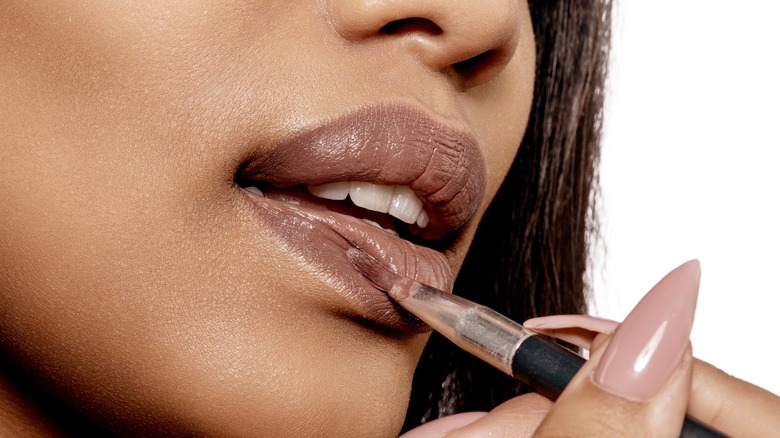
Accentuating your cupid’s bow is essential to overlining, and so is shading the edges of your lips instead of drawing straight lines. According to Be Beautiful, shading your lips’ outline creates a more diffused effect, which should be your aim when overlining. Unlike a regular lip, where cleaning your edges with concealer enhances the look, shading your liner in and out of the natural lip line prevents harsh lines against your skin and makes your overlined lips less obvious. And, of course, it’s easier to work with a sharp lip liner that creates light strokes, as it’s easier to clean up if you make a mistake.
Fill it up, and apply some gloss
Miramiska/Shutterstock
Last comes the most crucial element of the look: lipstick. With a matte or cream lipstick like the fan-favorite Huda Beauty Power Bullet Lipstick, fill in the rest of your lip or inside the shaded area, per Lala Daisy. Matte lipsticks are more accessible to blend in with your lip liner using a lip brush. But if you like the feel of your lip liner and prefer to use it throughout the whole area for a much more extended color stay, Charlotte Tilbury gives you the go-ahead.
And finally, some gloss. Lip gloss creates a plumping effect and gives your lips a voluptuous finish. Applying lip gloss over your overlined lips is optional as it can make your lips look overly done. It’s a matter of preference, as a matte finish is just as good (via Poosh). Overlining can be tricky, but it’s all about practice. Remain cautious of your natural lip line while overlining; pick the right lip liner and lipstick combos, and you’ll master the technique.

![Lightskin Face [Definition & Makeup Tips] Makeup Products for lightskin Face](https://glamlipstick.com/wp-content/uploads/2023/09/Makeup-Products-for-lightskin-Face-300x270.jpg)

![The Magic of Brown Lip Liners [Overview and MasterClass] Lady applies brown lipstick on her lips](https://glamlipstick.com/wp-content/uploads/2023/09/Lady-applies-brown-lipstick-on-her-lips-300x270.jpg)

![MAC's Mastery in Nudes [The Best Lipsticks for Every Skin Tone] Best Nude Lipsticks by MAC](https://glamlipstick.com/wp-content/uploads/2023/10/Best-Nude-Lipsticks-by-MAC-300x270.jpg)

![15 Of The Best Lip Balms For Dry Lips [According To Dermatologists] 15 Of The Best Lip Balms For Dry Lips [According To Dermatologists]](https://glamlipstick.com/wp-content/uploads/2024/03/15-Of-The-Best-Lip-Balms-For-Dry-Lips-According-300x270.jpg)
![44% Of People Use This Lip Product The Most [GlamLipstick Survey] 44% Of People Use This Lip Product The Most [GlamLipstick Survey]](https://glamlipstick.com/wp-content/uploads/2024/03/44-Of-People-Use-This-Lip-Product-The-Most-300x270.jpg)