It can be quite frustrating to be out in a meeting, on a date or hanging out with friends, and suddenly realizing that your lipstick has smudged or caked across your face. When you apply lip color, you want it to stay in place for as long as possible, without smudging, cracking, or caking. However, achieving this isn’t always a simple task.
A common misconception is that of all the makeup in our arsenal, lipstick is the easiest to master. All it takes is a quick swipe across your lips, and your lip color of choice is set for the day. But in order to keep your lip look locked in place, it takes a lot more than that.
Products are available — click below to view them!
SEE DETAILS ON EBAYAs per Mind Body Green Lifestyle, achieving a long-lasting lip look requires more than a quick wash of your go-to product. Instead, the key to success is layering your products in the perfect order and careful lip prep.
But what is the proper order to apply your lip products, and how should you prep your lips to ensure that your lipstick stays in place all day long?
Start by prepping your lips
Juta/Shutterstock
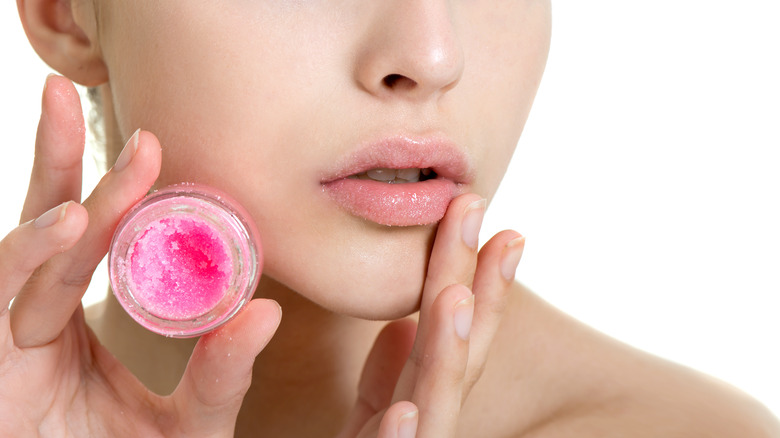
The first step to making it easier to keep your lipstick in place is to prepare your lips properly. It’s easy to assume that lips don’t require the same level of care as the rest of our skin for makeup application, but that isn’t the case. Your lips need just as much TLC.
It is recommended by Mind Body Green Lifestyle to start with exfoliation in order to remove dry and dead skin cells from your lips while also smoothing any areas that have creases. This process also stimulates blood flow, which increases collagen production and helps your lips appear fuller. According to board-certified dermatologist Loretta Ciraldo, “Exfoliating your lips can be helpful if you’re starting to see some lip lines.” Into the Gloss suggests using a sugar lip scrub or a soft toothbrush to get rid of dead, dry skin from your lips, leaving a smooth surface for makeup application.
The next step in prepping your lips is to apply balm. Lip balm masks any small cracks in your lips so that your tint of choice doesn’t linger in them.
Another handy tip is to pick a tinted lip balm that matches your lipstick color, as this should help to give your lipstick a color boost. FYI, for best results, allow the lip balm to soak completely into your lips before starting to apply products on top of it.
Follow up by layering your products
Kat Ka/Shutterstock
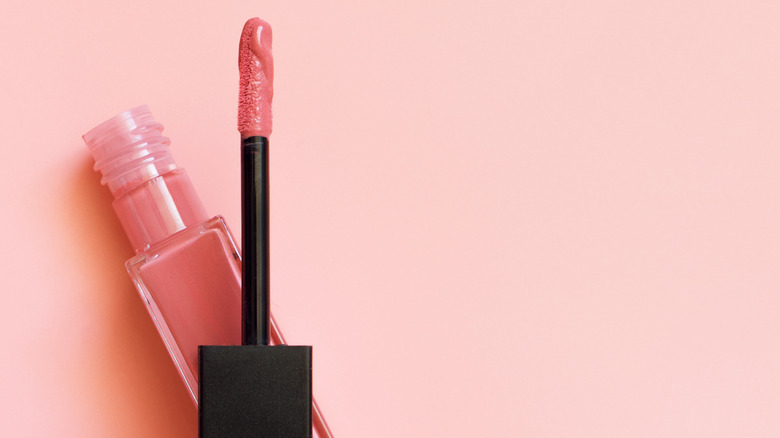
The next step to ensuring that your lipstick stays on all day is to layer your products, starting with a lip liner the same shade (or as close as possible) as your lip tint. Mind Body Green Lifestyle advises that you start by lining your lips to create an outline and then coat each lip in lip liner to give your lipstick a solid base to adhere to.
According to Into the Gloss, using lip liner as an extra layer of primer can be very effective when applied on top of your preferred lip primer. Additionally, applying lip liner can provide a base for your lipstick, which means that if your lipstick fades away, your lips won’t look bare because the lip liner will create a similar hue base beneath it.
Makeup artist Nechelle Turner explained to Mind Body Green that it’s best to apply lip color in layers. She explains that it’s best to, “apply lipstick, blot with a tissue, and reapply lipstick”. Her reason for this is genius — when you blot the initial layer, you press the formula into the liner (which usually has a waxy base formula) which makes it stay in place more easily.
To finish the look off, coat your lipstick with a slick of gloss. This will further set the lipstick in place and add an extra layer of protection.

![Lightskin Face [Definition & Makeup Tips] Makeup Products for lightskin Face](https://glamlipstick.com/wp-content/uploads/2023/09/Makeup-Products-for-lightskin-Face-300x270.jpg)

![The Magic of Brown Lip Liners [Overview and MasterClass] Lady applies brown lipstick on her lips](https://glamlipstick.com/wp-content/uploads/2023/09/Lady-applies-brown-lipstick-on-her-lips-300x270.jpg)


![MAC's Mastery in Nudes [The Best Lipsticks for Every Skin Tone] Best Nude Lipsticks by MAC](https://glamlipstick.com/wp-content/uploads/2023/10/Best-Nude-Lipsticks-by-MAC-300x270.jpg)


![15 Of The Best Lip Balms For Dry Lips [According To Dermatologists] 15 Of The Best Lip Balms For Dry Lips [According To Dermatologists]](https://glamlipstick.com/wp-content/uploads/2024/03/15-Of-The-Best-Lip-Balms-For-Dry-Lips-According-300x270.jpg)
![44% Of People Use This Lip Product The Most [GlamLipstick Survey] 44% Of People Use This Lip Product The Most [GlamLipstick Survey]](https://glamlipstick.com/wp-content/uploads/2024/03/44-Of-People-Use-This-Lip-Product-The-Most-300x270.jpg)